
[ad_1]

If you also watch the movie Easter Parade all year round like me, then you are probably pretty excited that Easter is around the corner. Now that I have a kiddo, it’s extra fun to do holidays and find little projects that Lola and I can do together.
Using air-dry clay is an awesome way to create something special (and there’s very little mess involved, which is also nice).
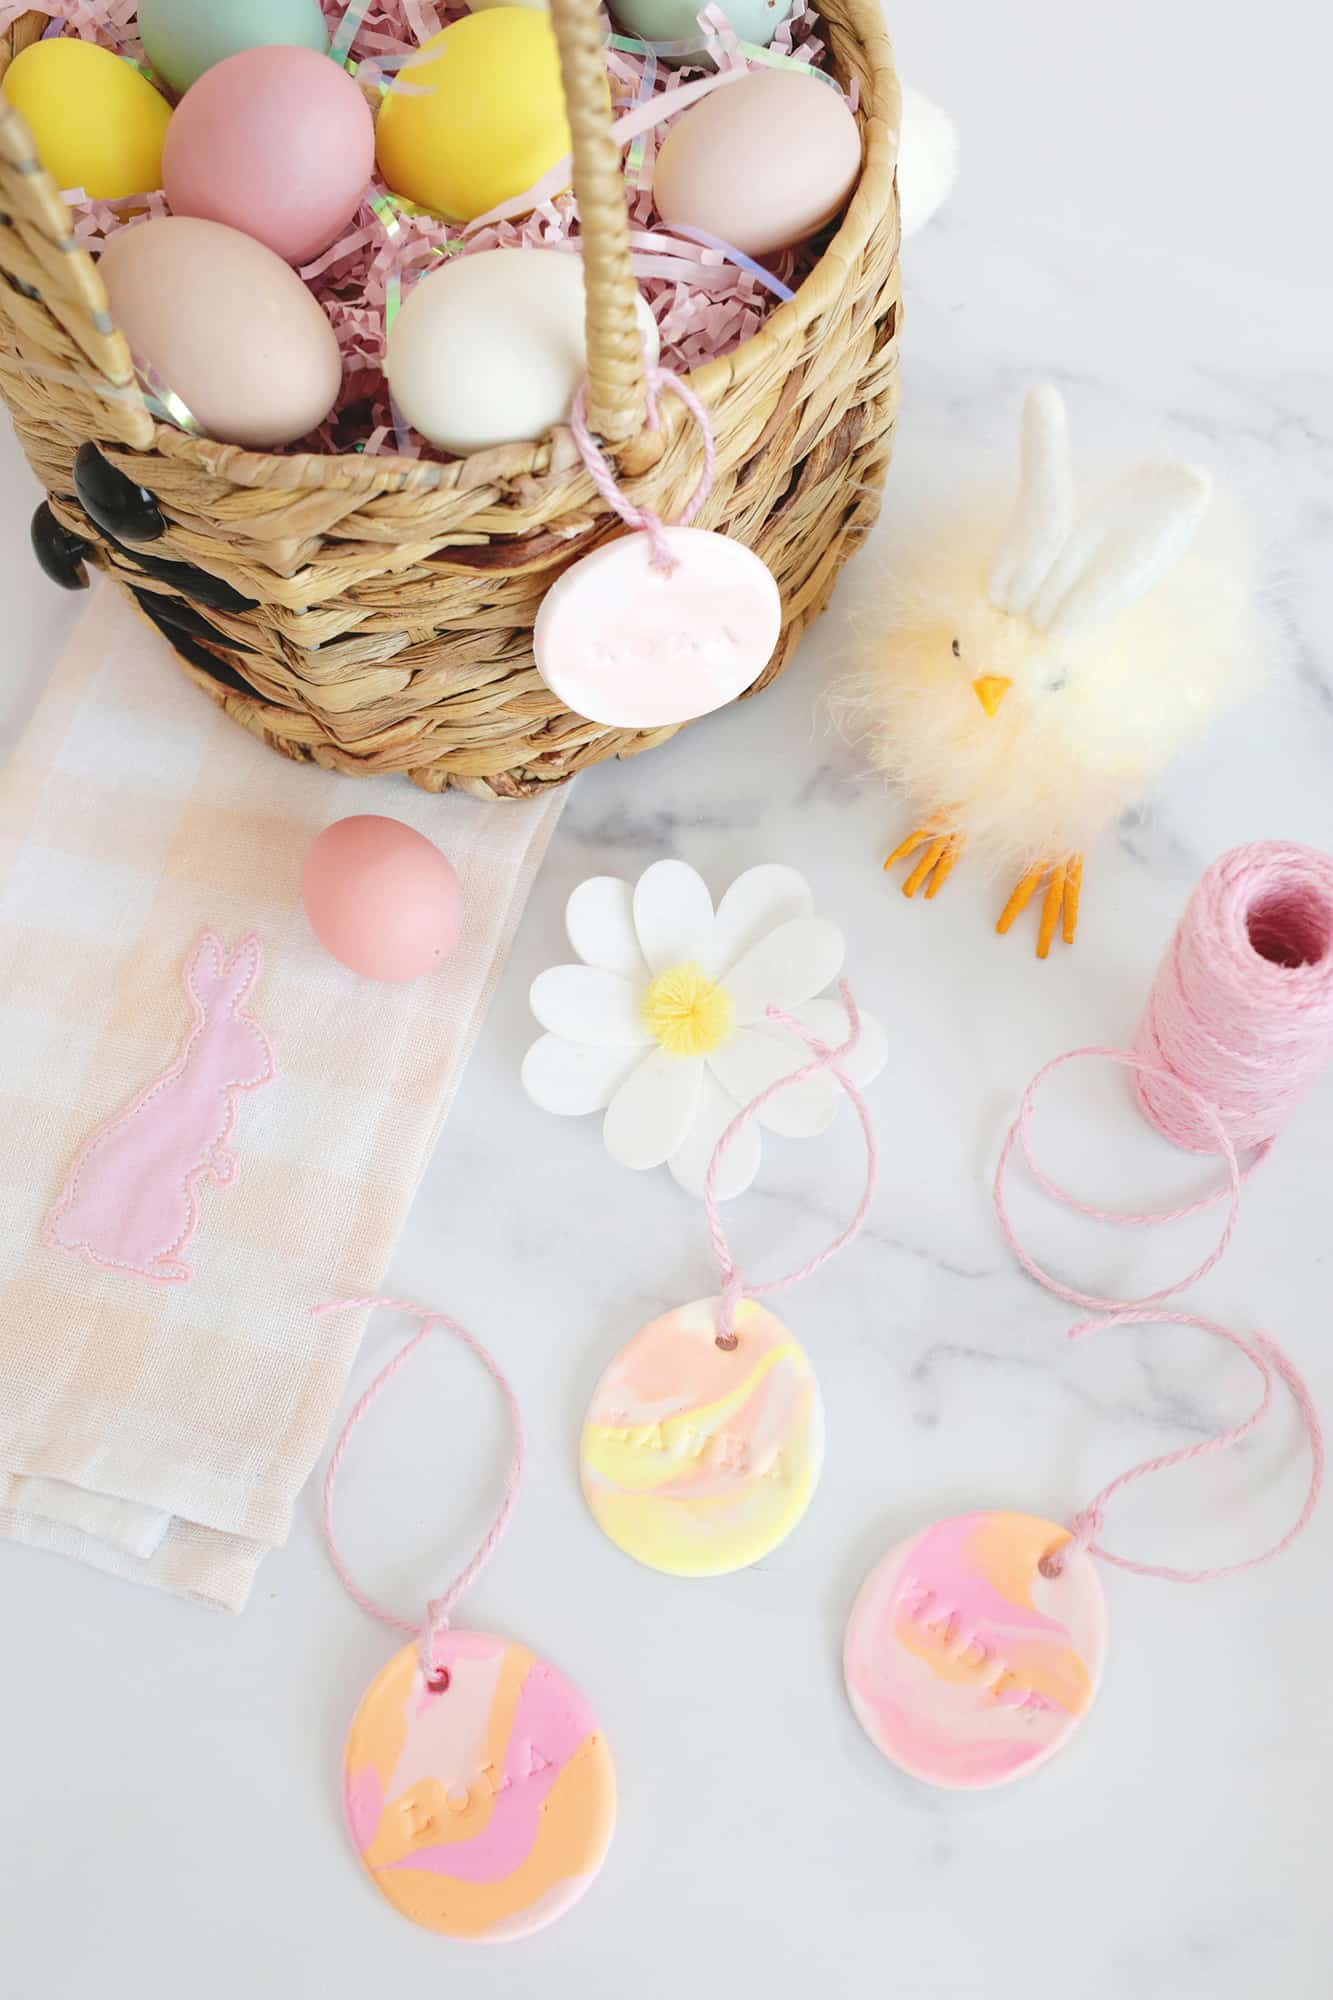
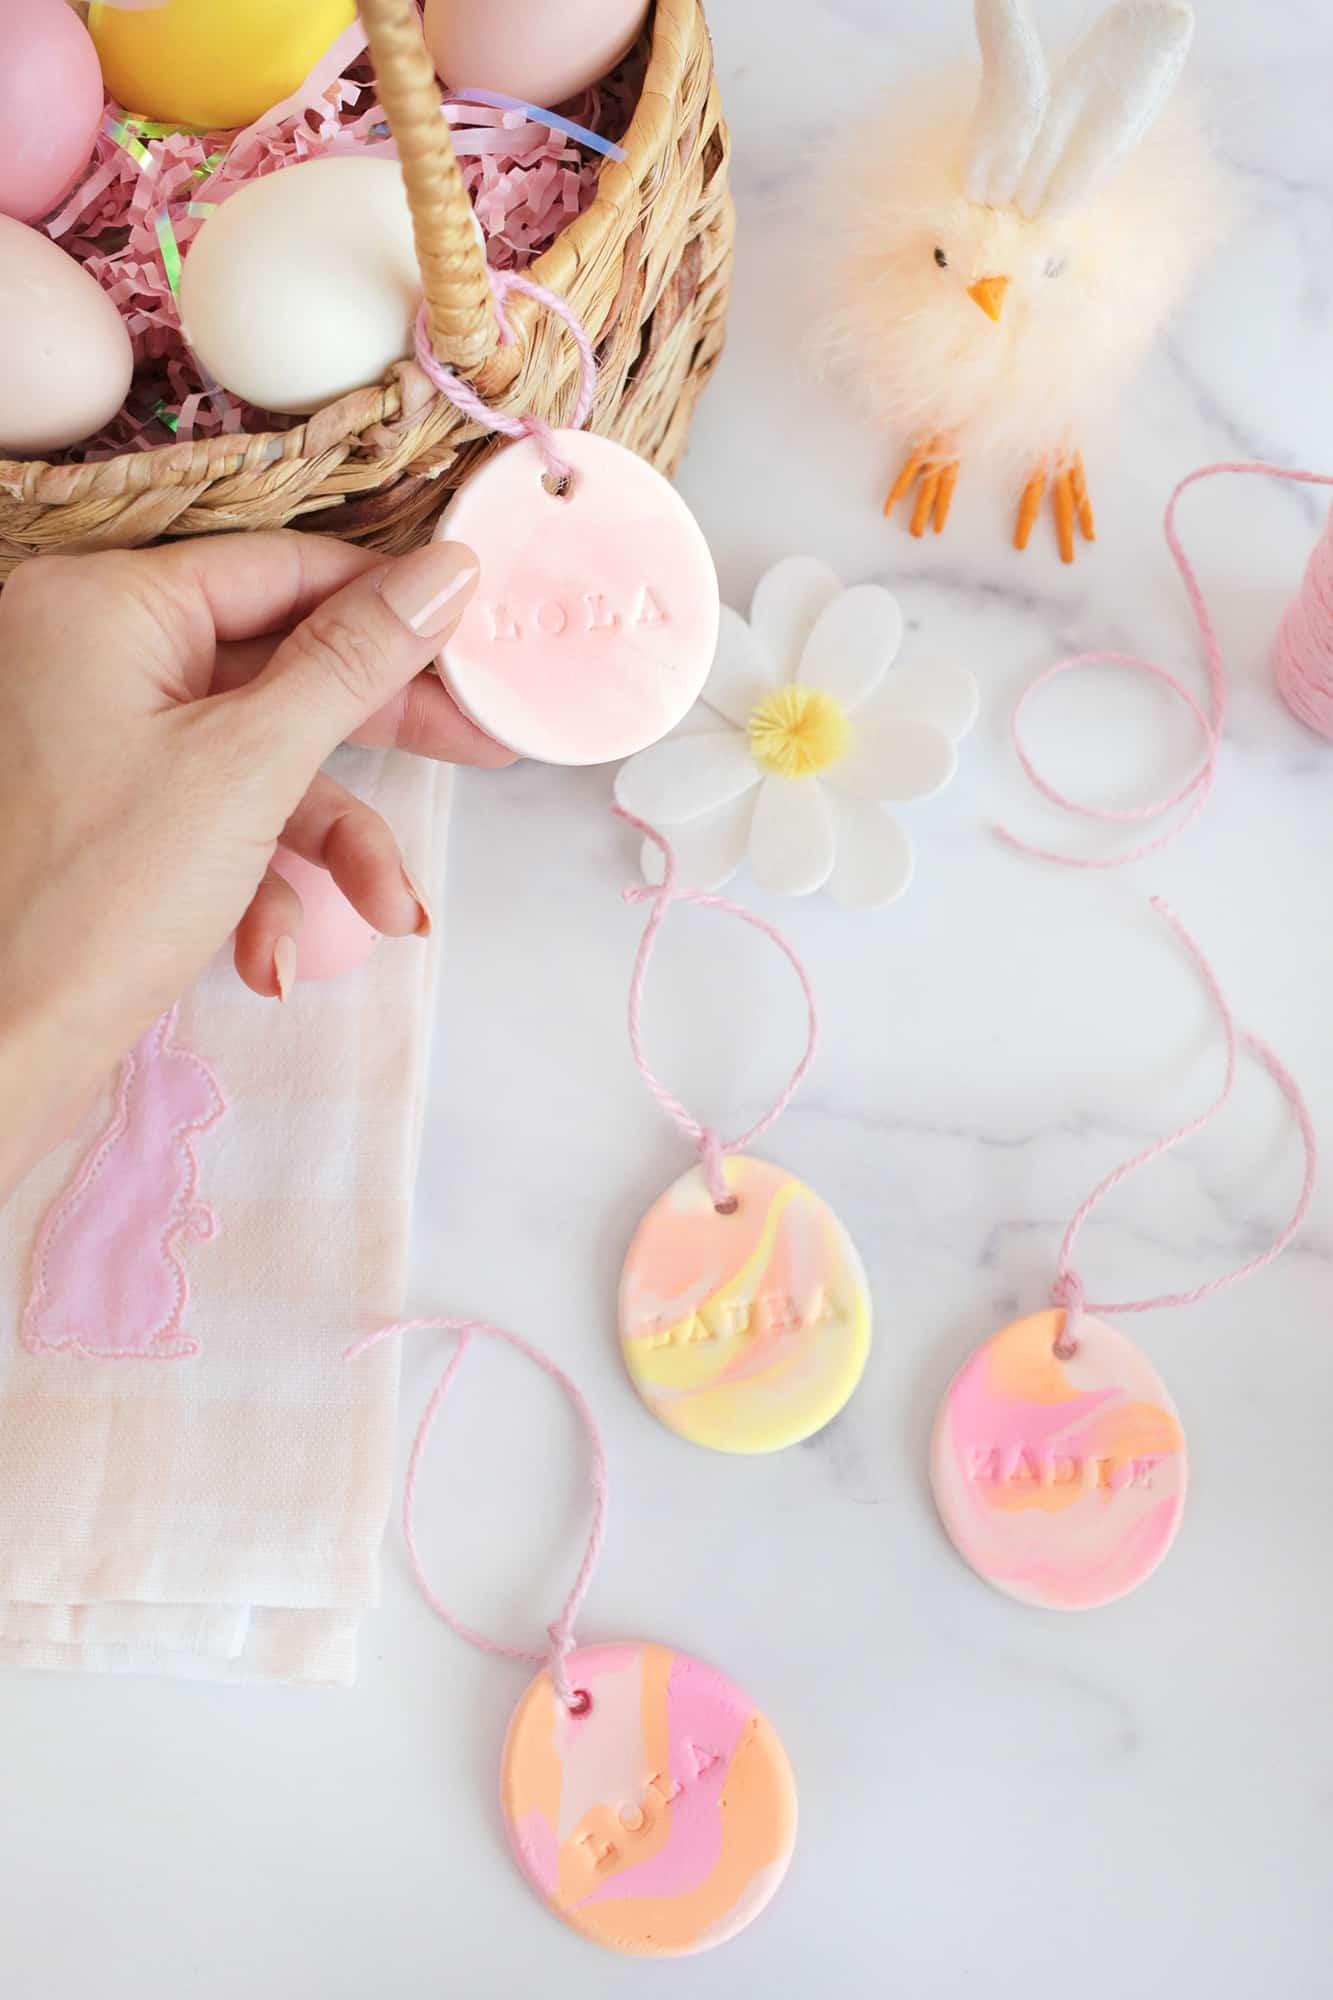
You can make this easy marbled air-dry clay project to create decorations to hang up throughout the house (hang single ones like ornaments or string some together for a garland!), but I thought it would be fun to personalize the egg shapes so they can be Easter basket tags instead.
And, air-dry clay is so easy to work with that you can marble it very easily, and just like our popular Marbled Clay Ring Dish project, it turns out really pretty in just a few minutes. Plus dry time. Haha.
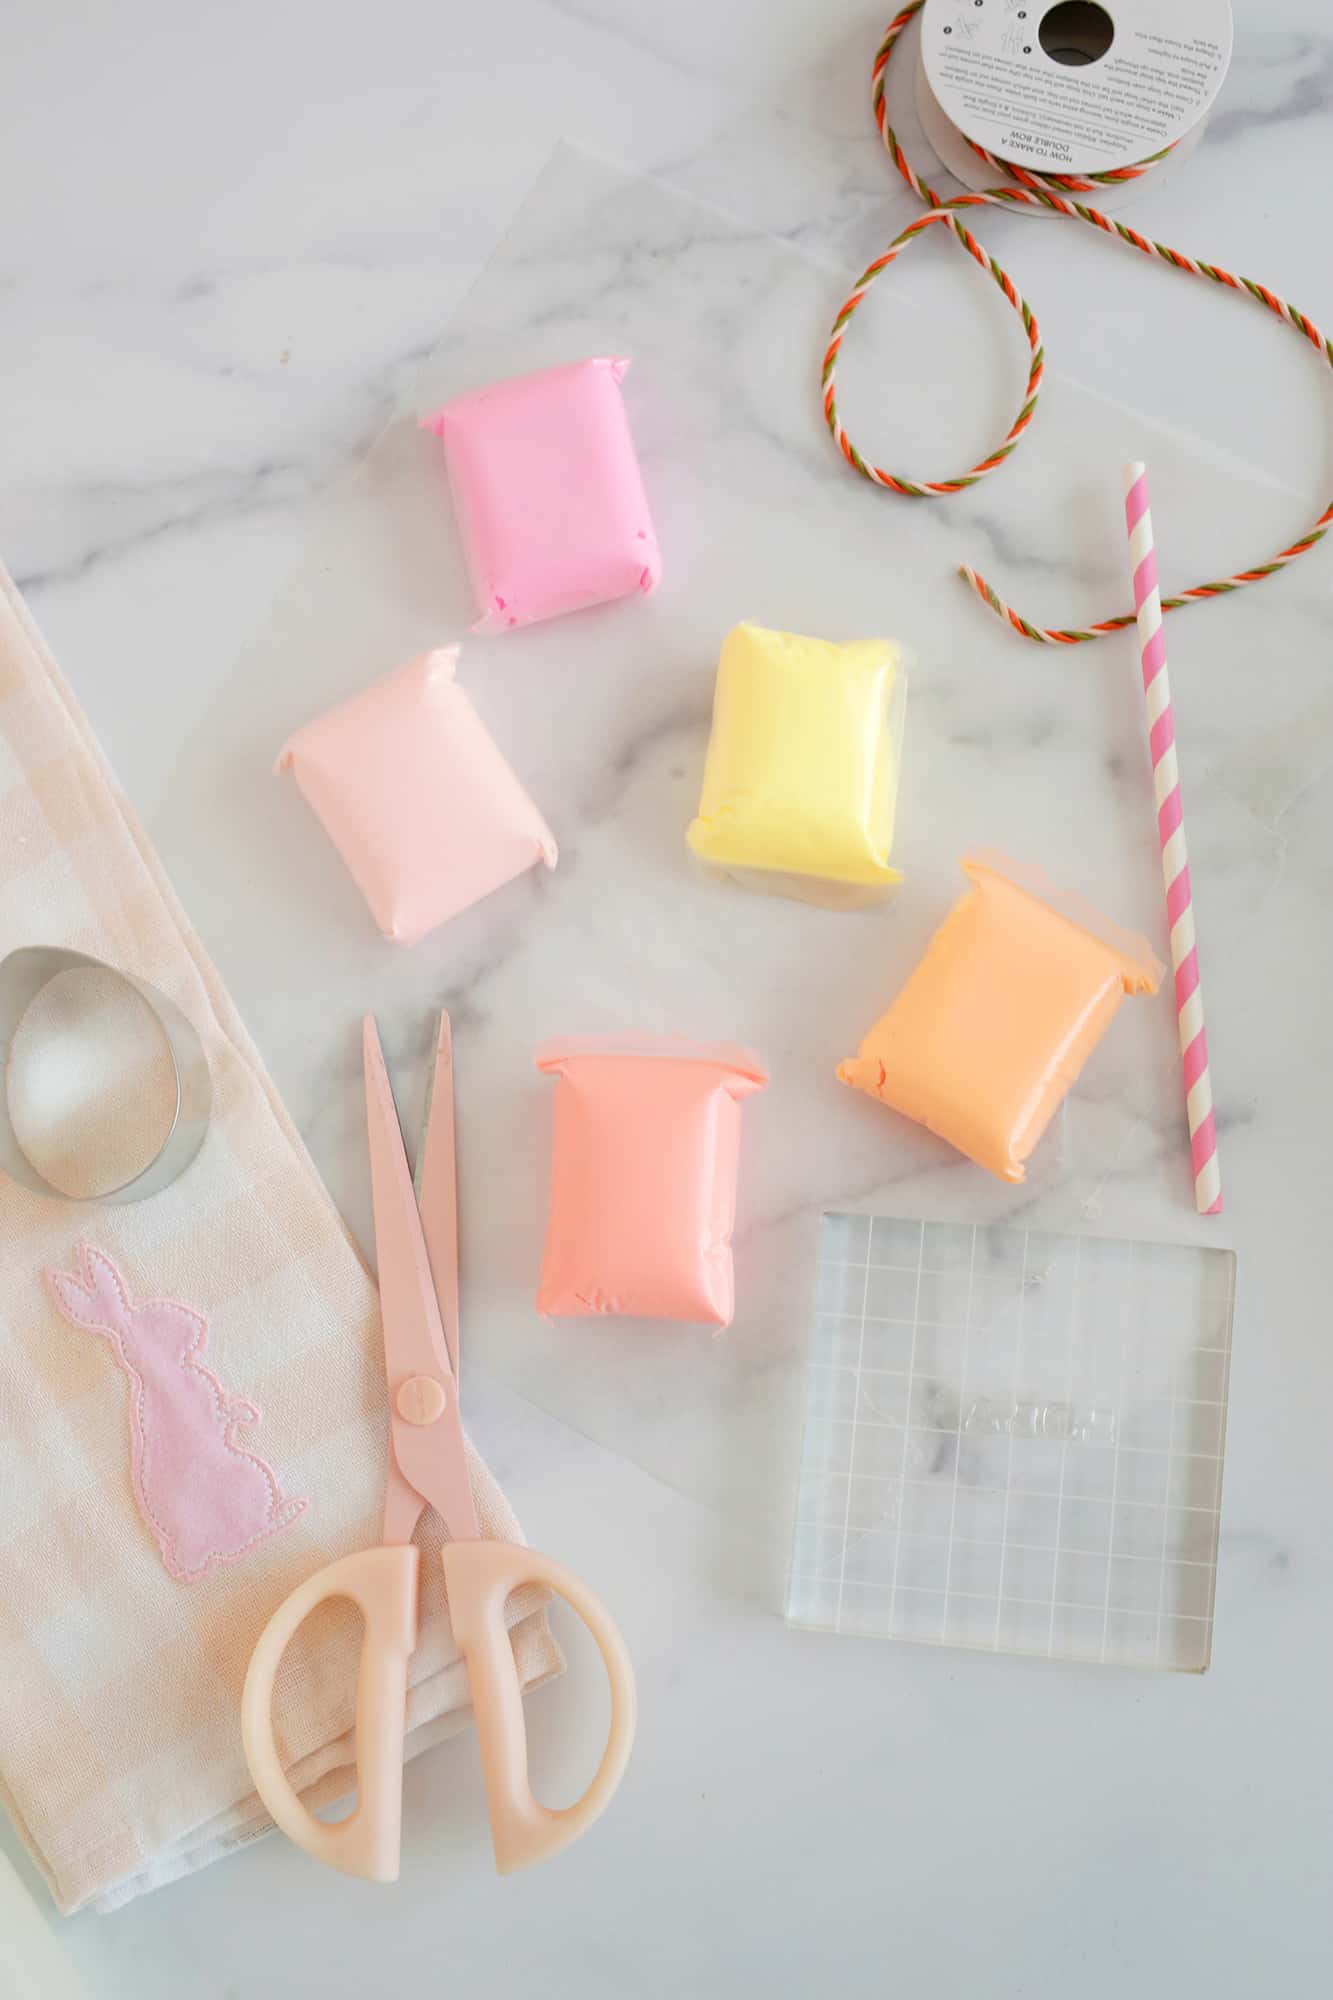
Supplies:
-air-dry clay (you can get bigger single-color packs like this or multi-color packs)
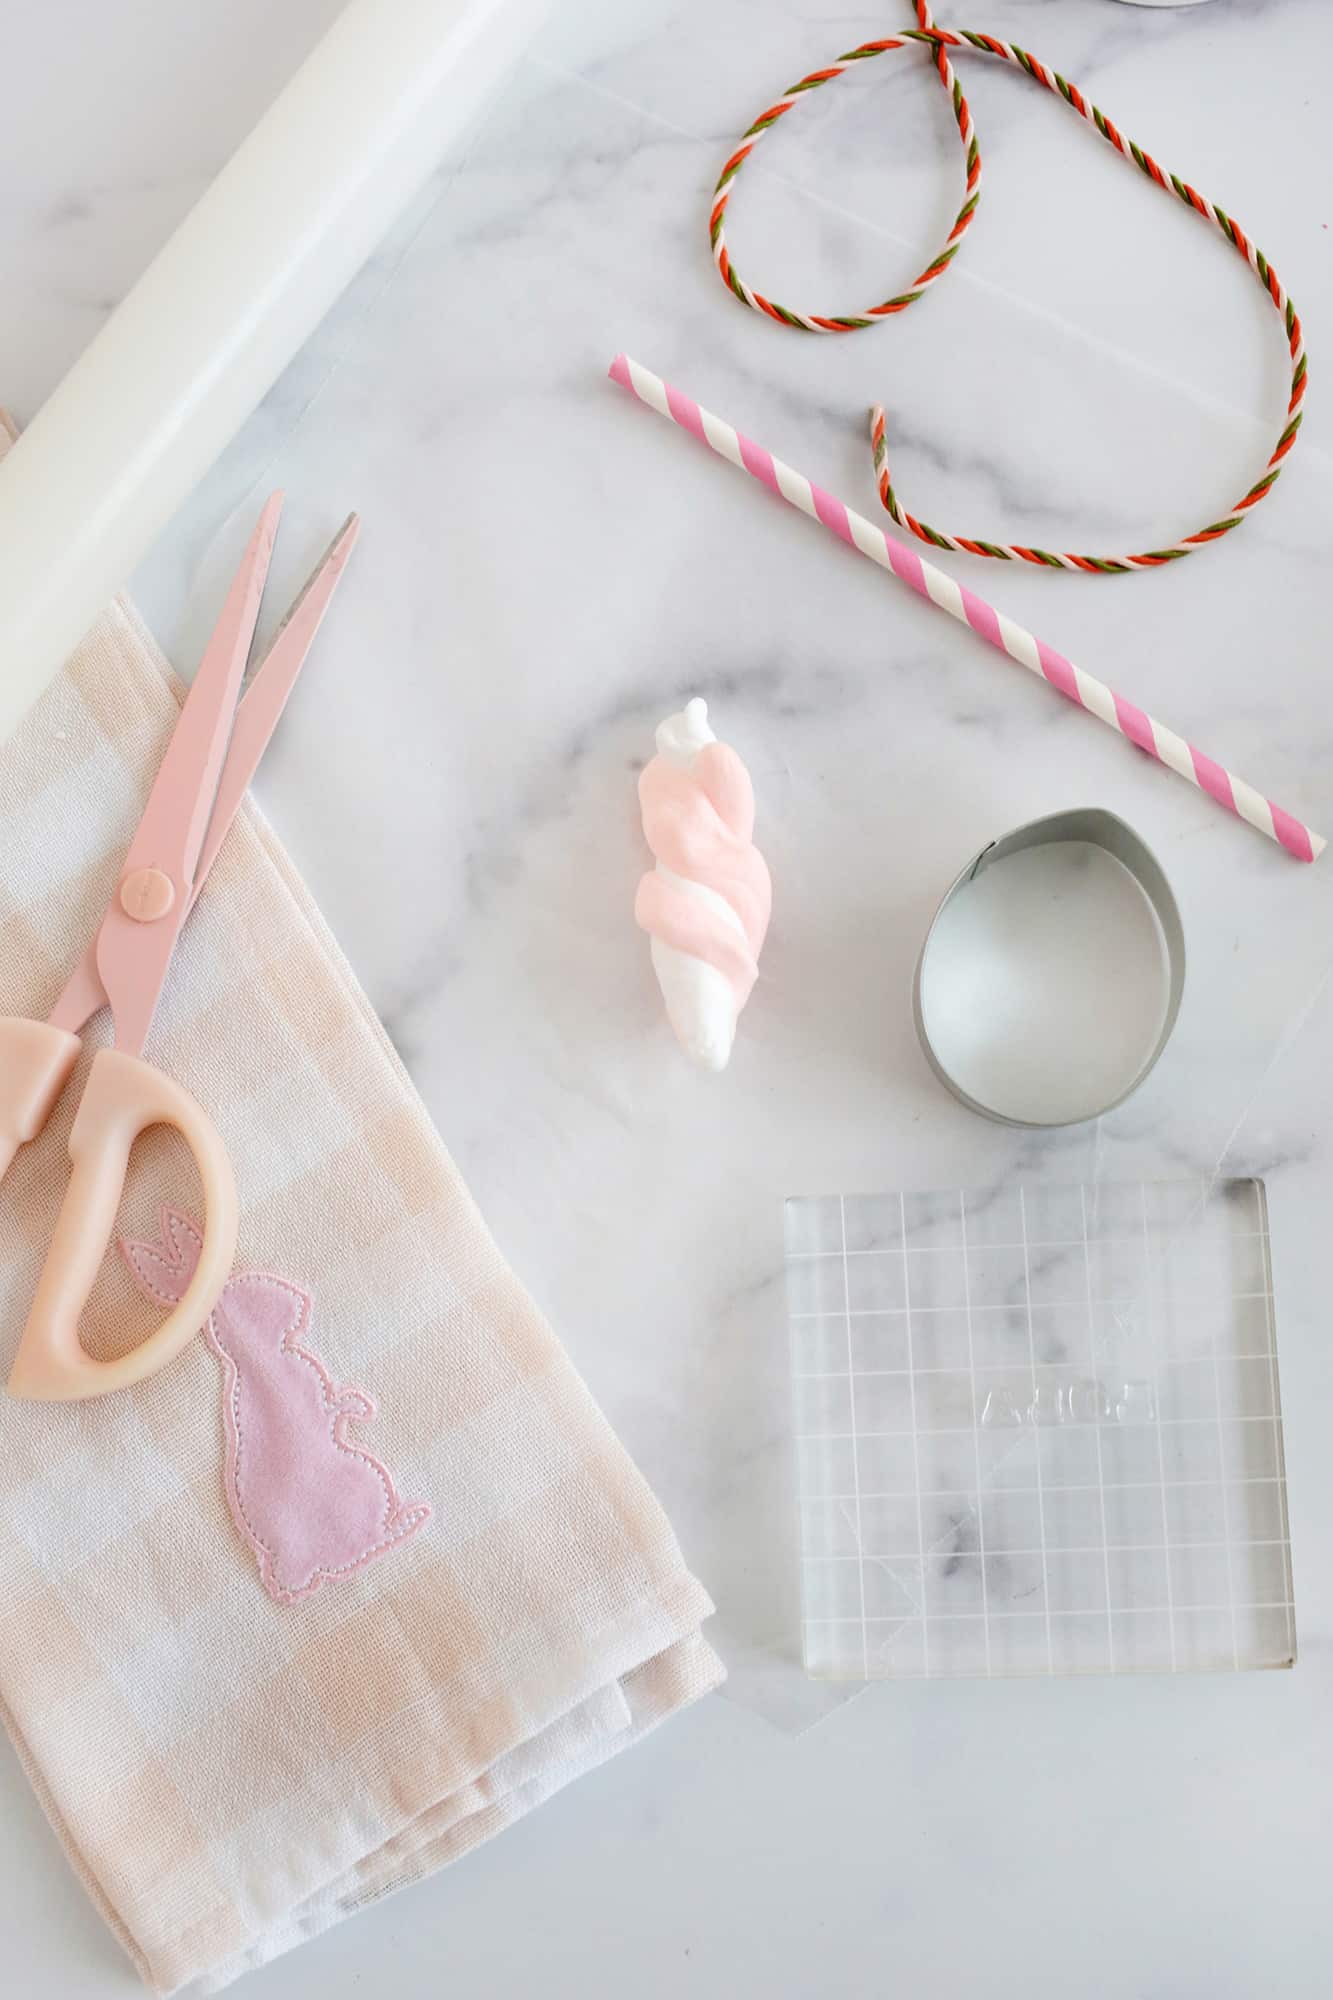
-wax paper or silicone mat for rolling out clay
–rolling pin (non-stick, like a silicone one)
–egg shaped cookie cutter (or other Easter shape like this Peeps one)
–letter stamp set
-straw to make hole
-twine or ribbon to tie the tag
-fine sandpaper to smooth edges (optional)
First, set up your stamp set (with the name you want to stamp) so it’s ready to go.
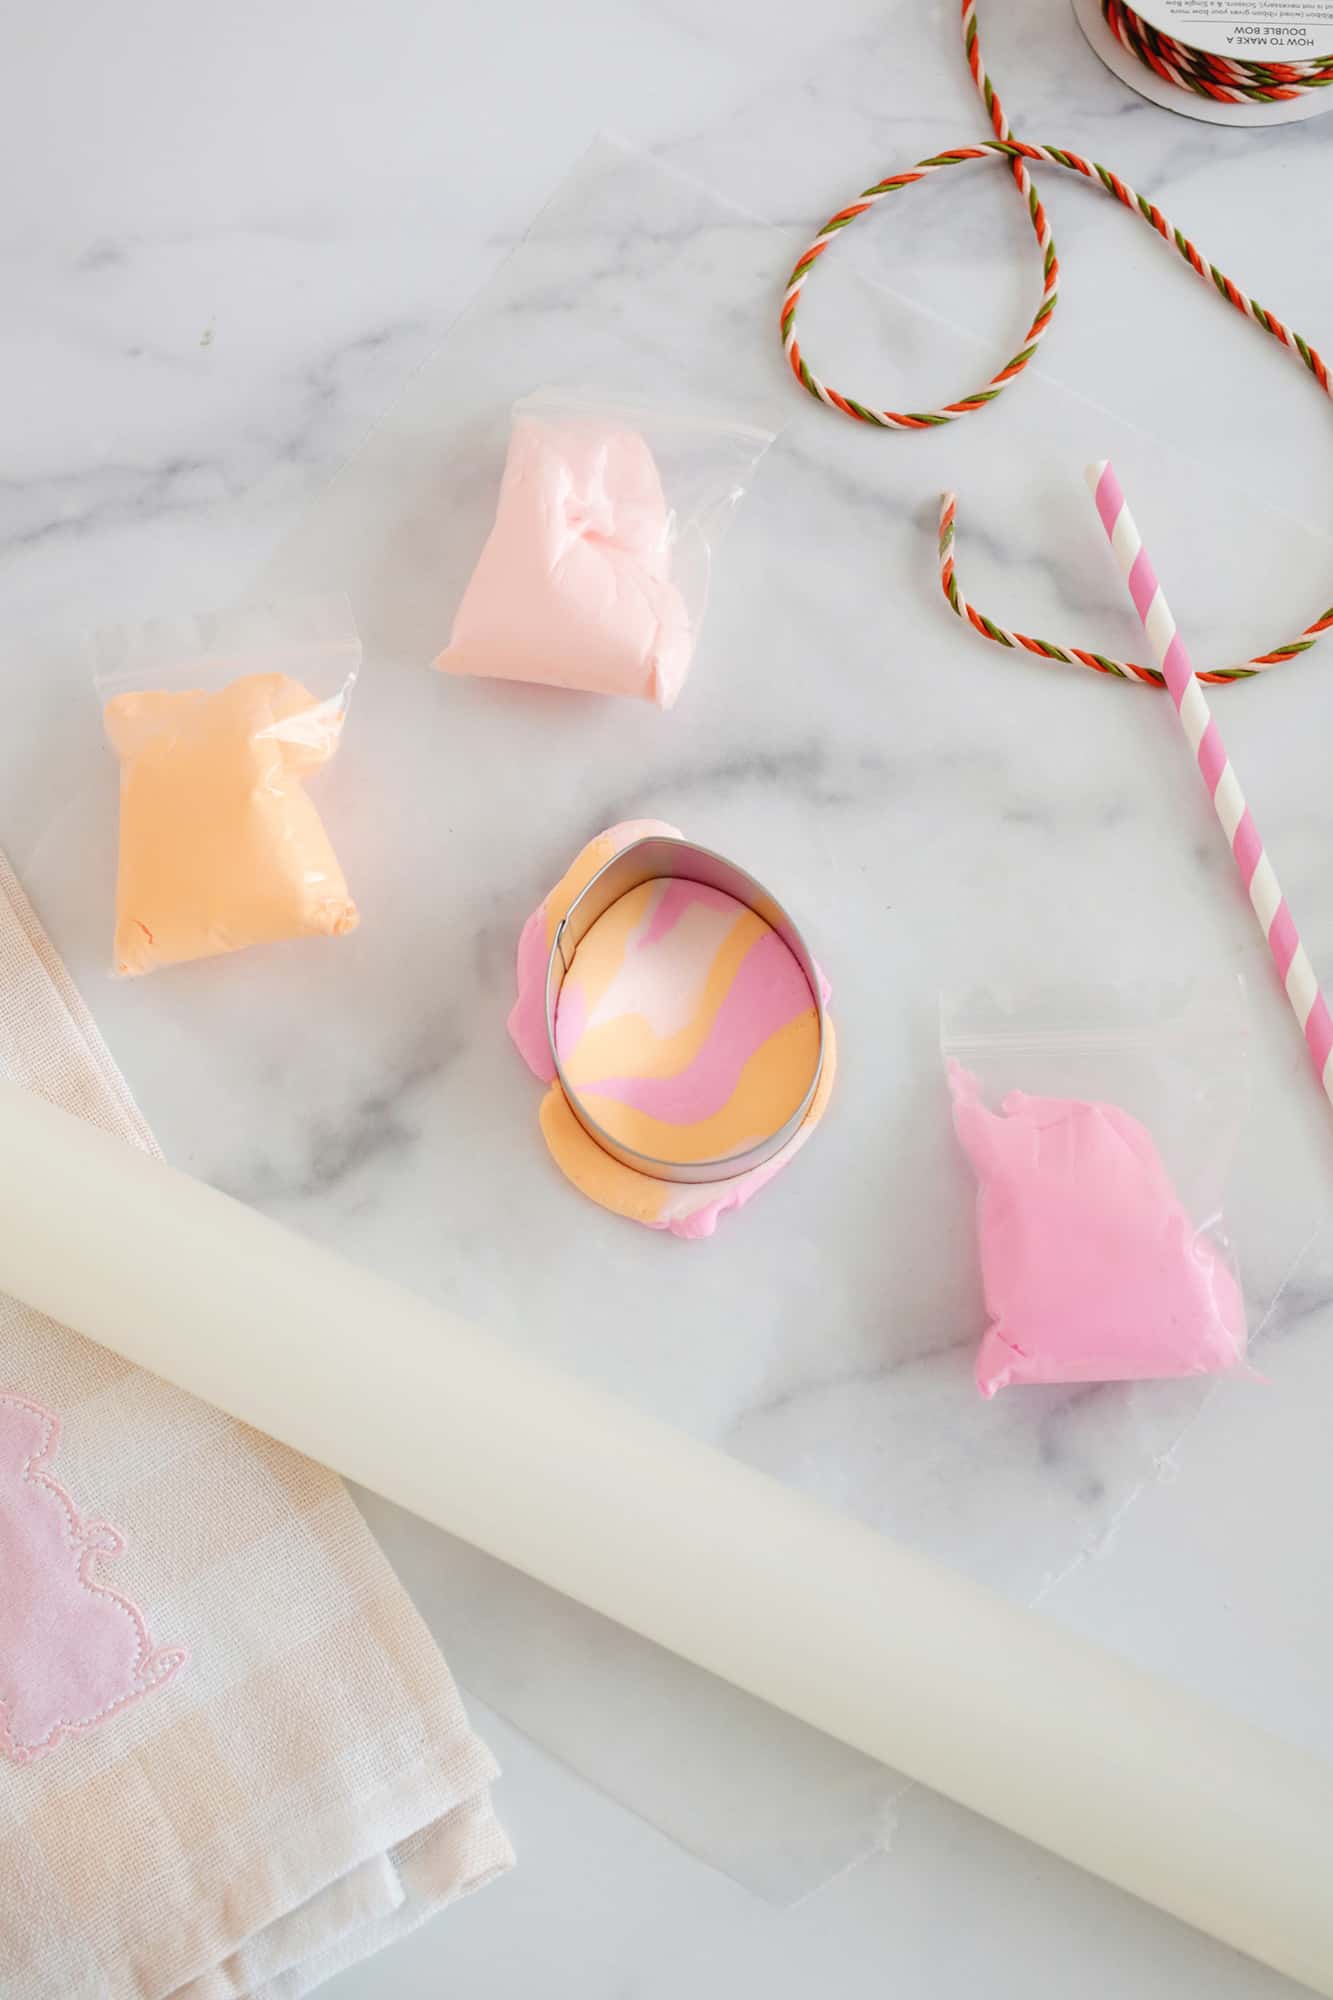
Then, grab two or three pieces of the colors of air-dry clay that you want to marble. You can either cut out one at a time or roll a larger slab and then cut several from the bigger piece.
Roll out short clay “snakes” with each color and then twist them together in one strand. Lay the strand down on your rolling surface and use the rolling pin to flatten out the clay.
If you like that pattern of marbling, go ahead and cut out your shape with your cookie cutter, or you can roll it into a few snakes again, re-twist it, and see if you like that marbling better before cutting.
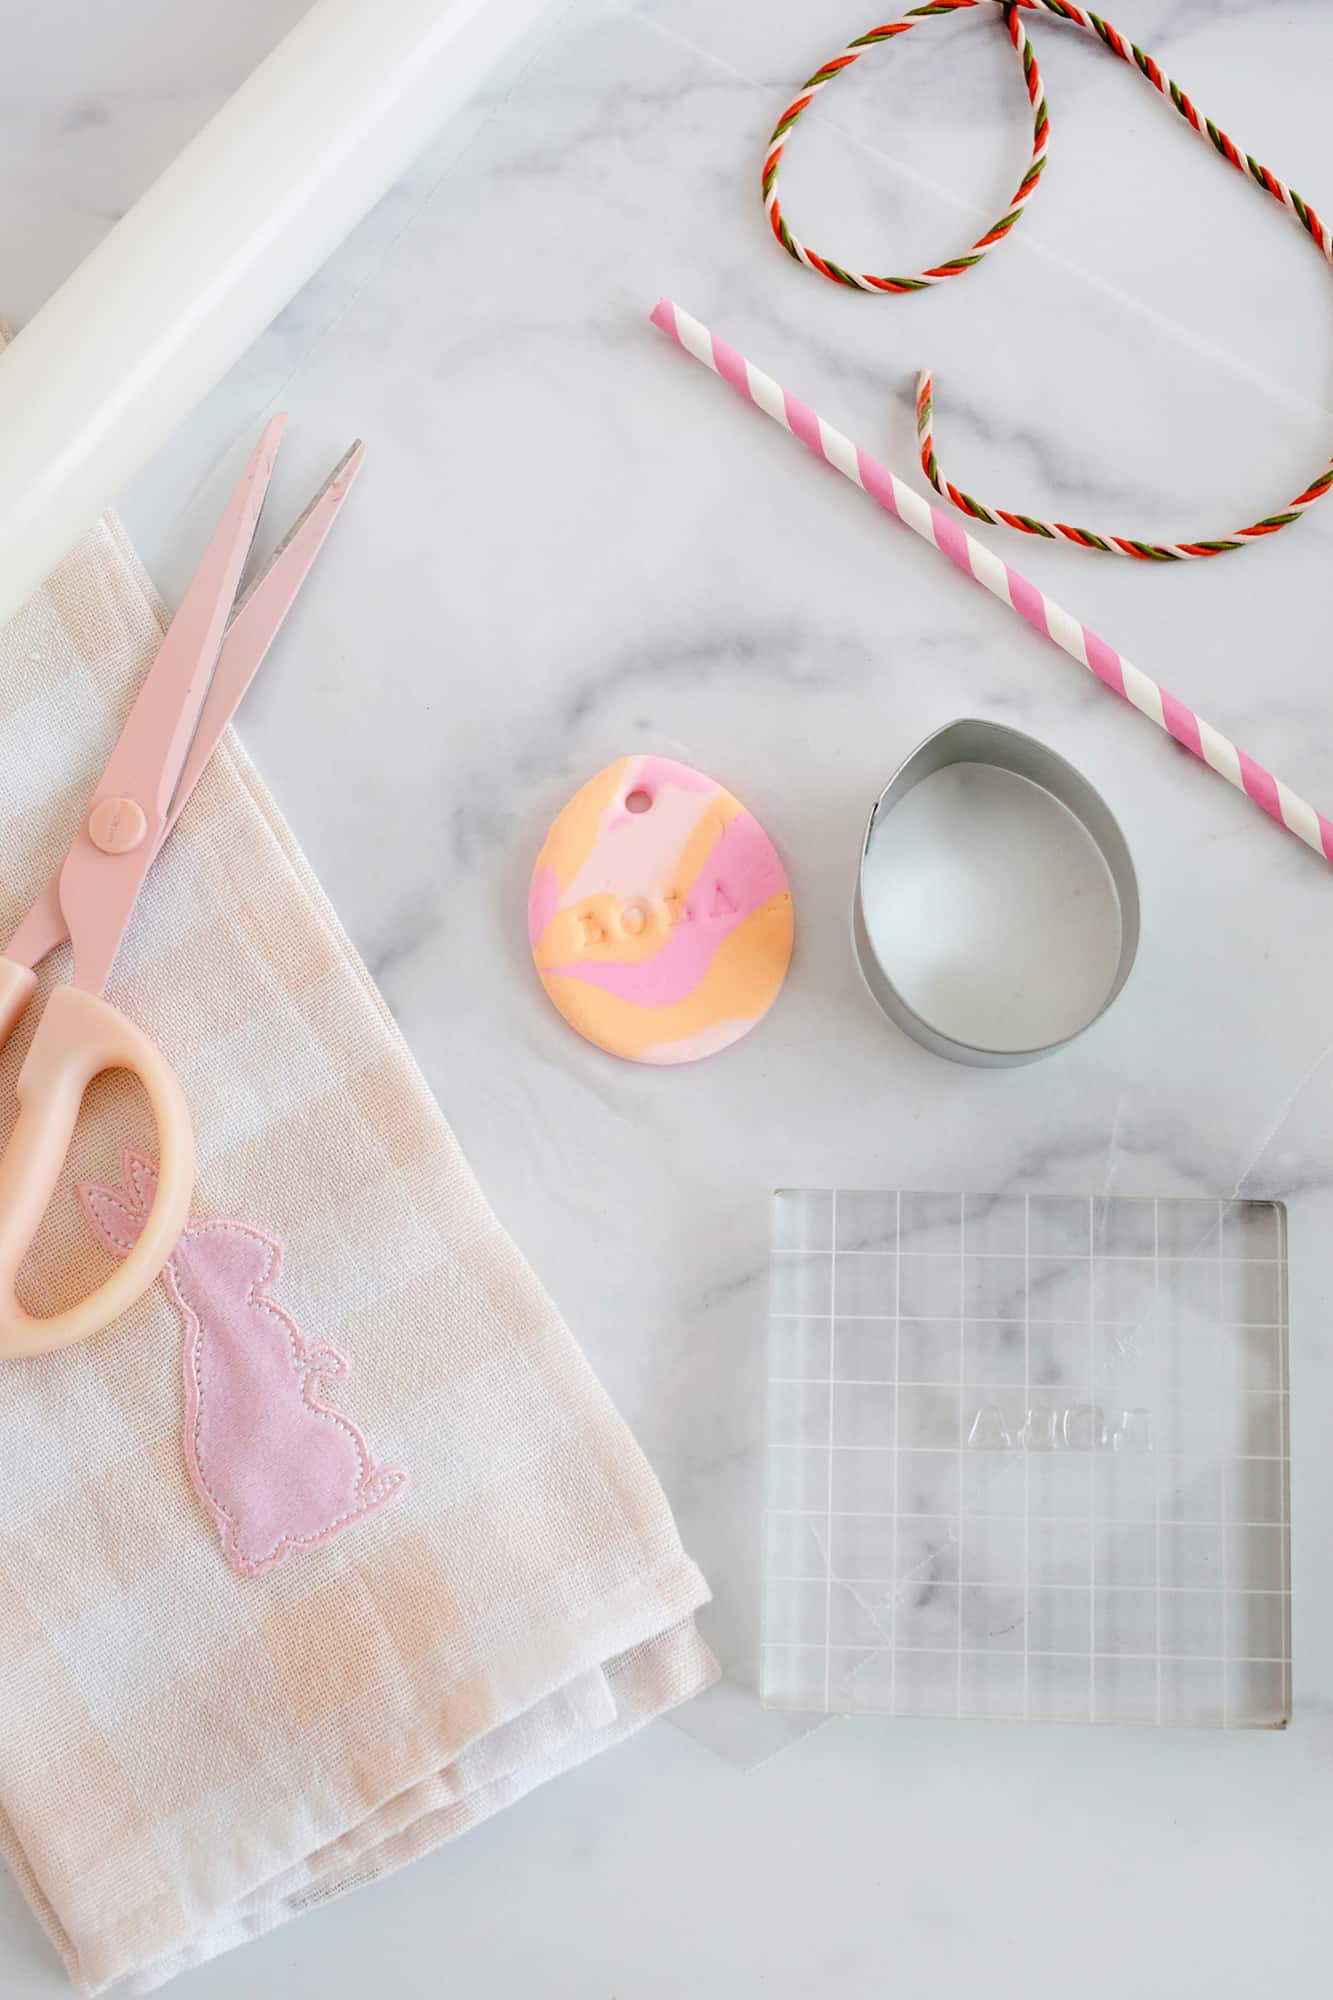
Once your shape is cut, pull away the excess and use your straw to poke a hole in the top to tie the string or ribbon onto.
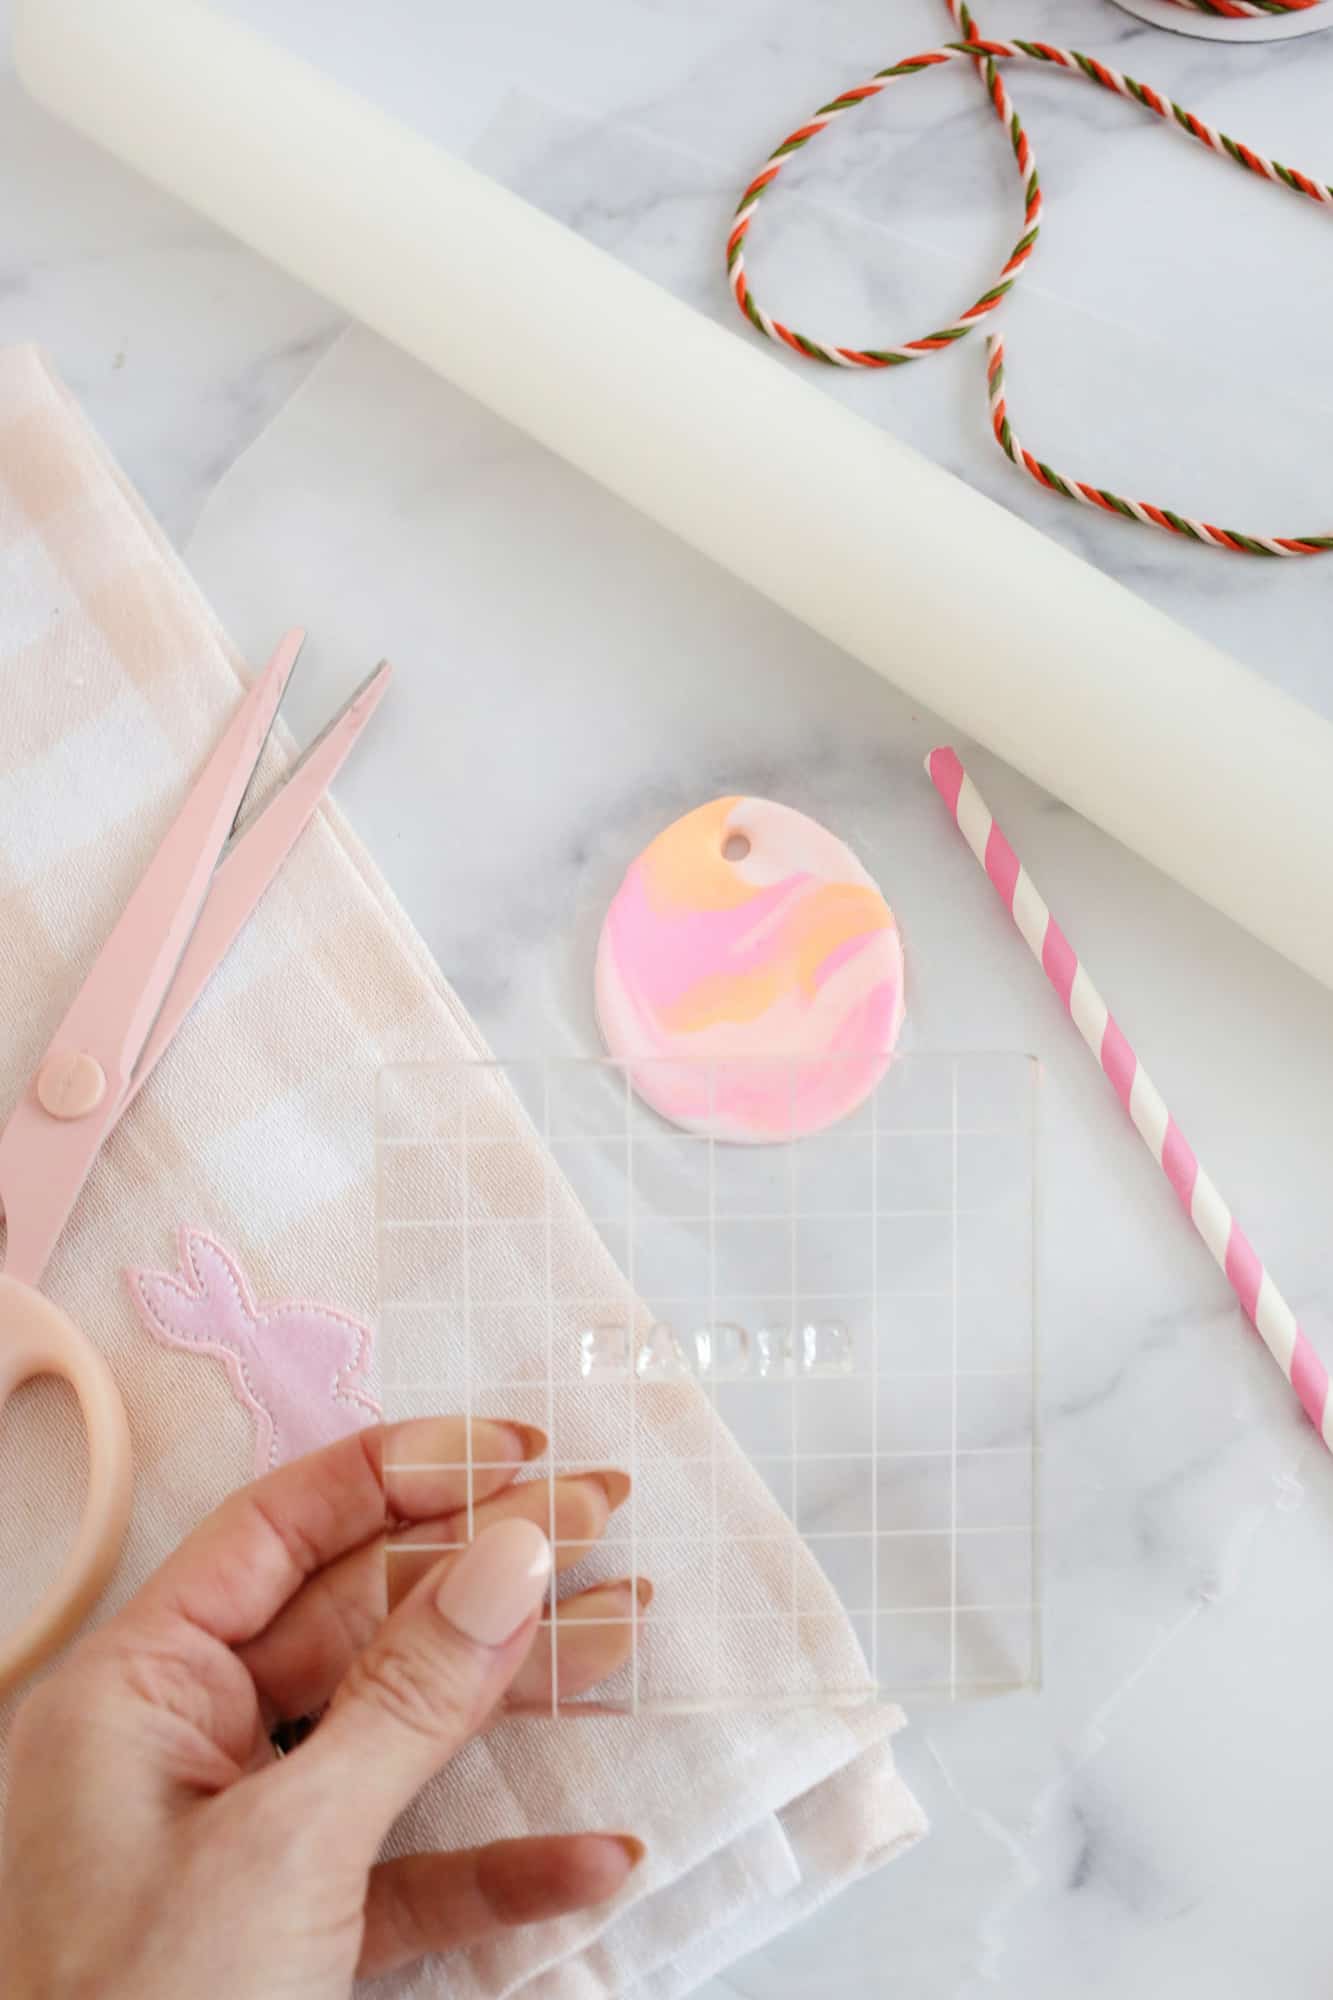
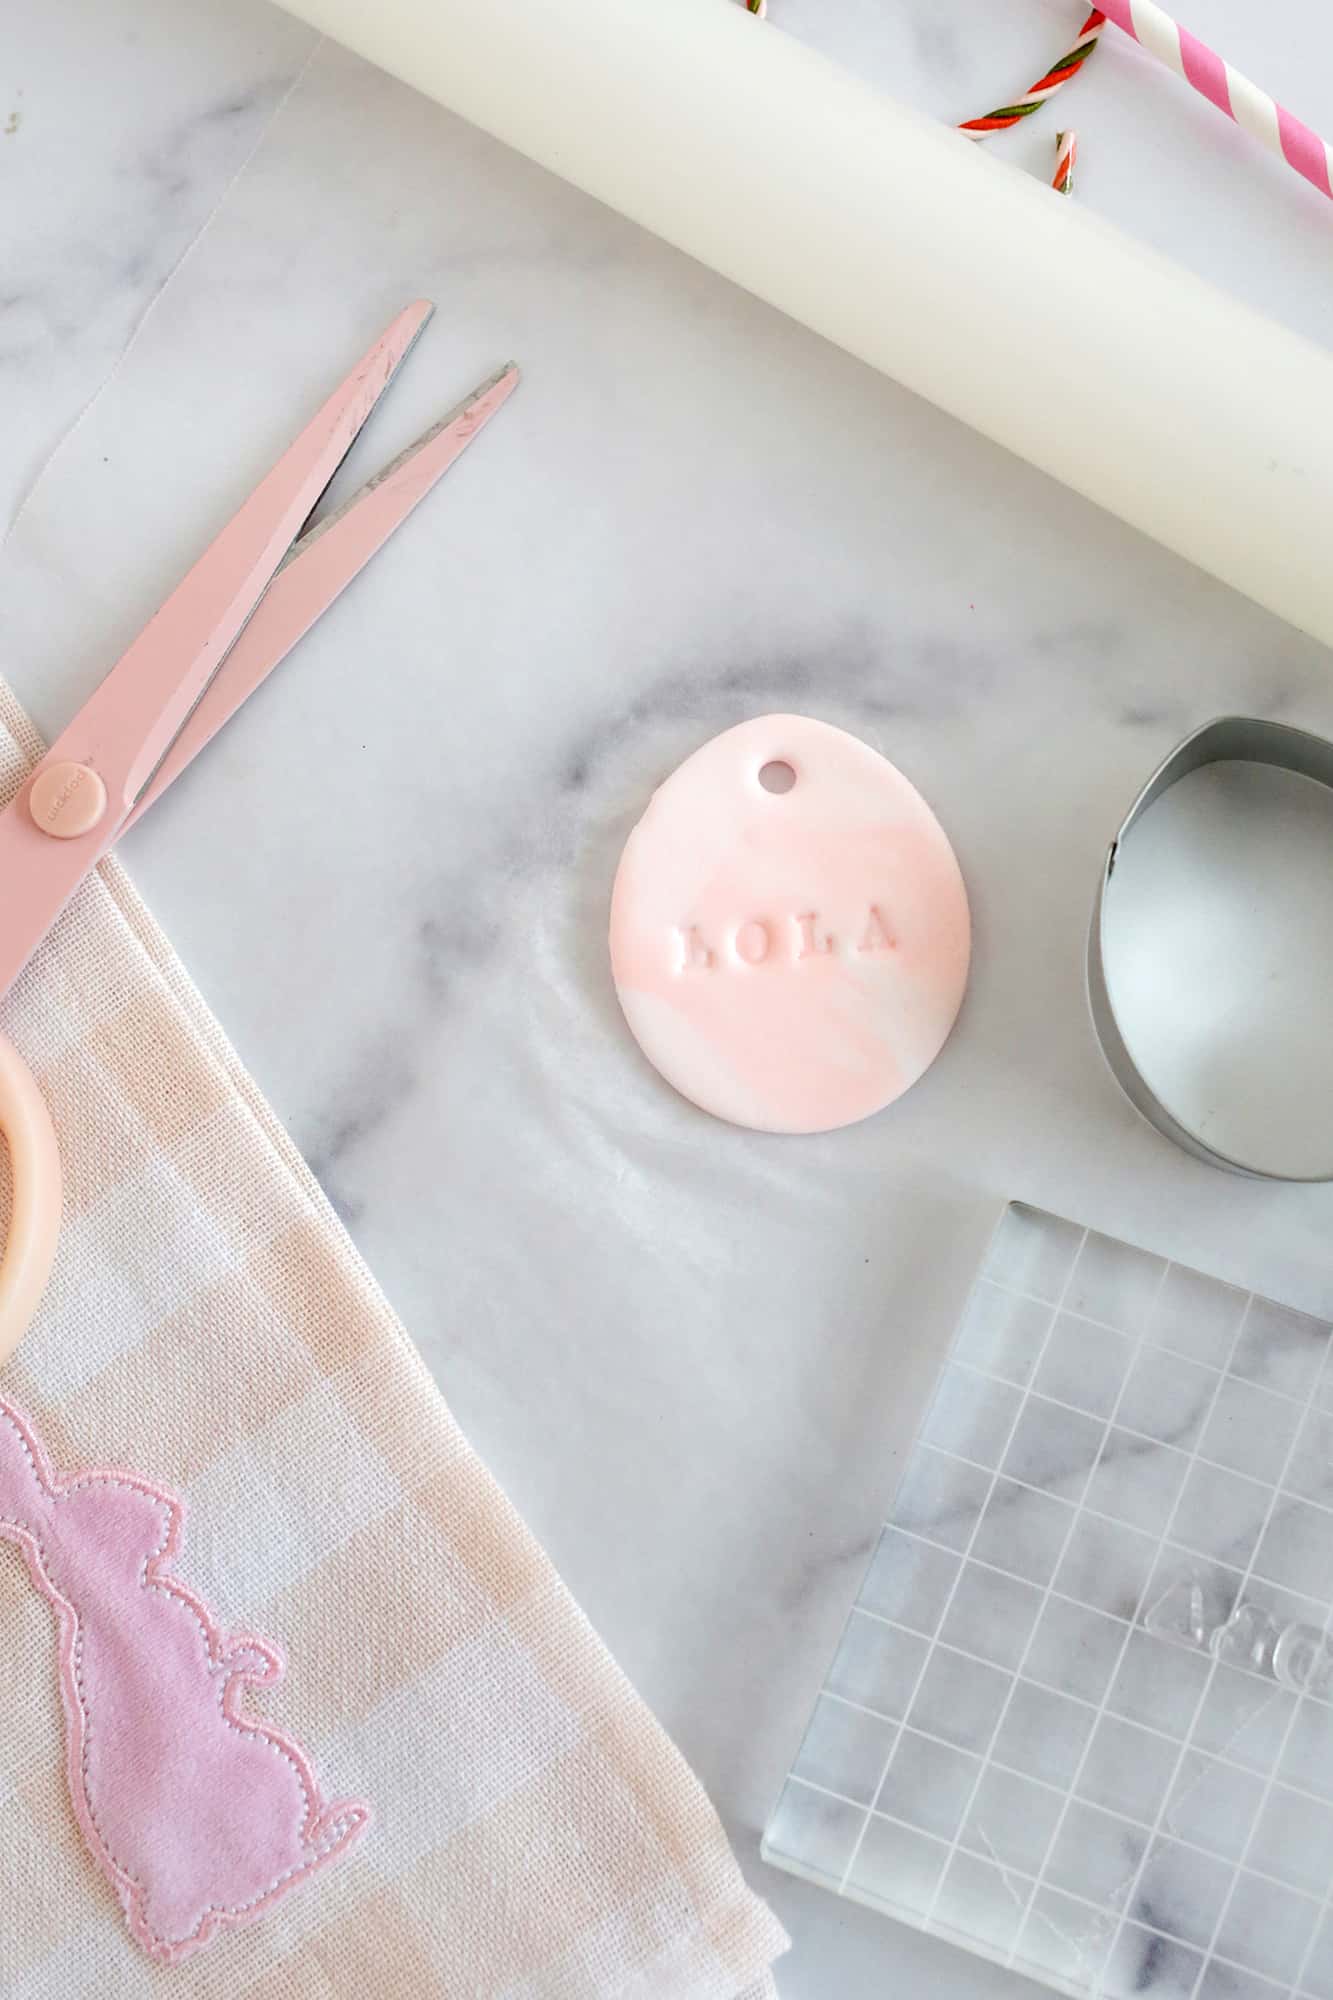
Press your name stamp into the clay (I love those clear sets because you can see exactly where you are placing it) and allow the clay to fully dry.
If you have a few rough edges, you can use a fine sandpaper when it’s dry to smooth them out. Otherwise, your tag is ready to use!
Other ideas for decorating the tags:
- Make solid color tags and then decorate them further with paint (or puff paint).
- Leave them unstamped until they dry and then stamp the name on with ink.
- Use straws or other stamps/objects to create dots or markings while the clay is still soft.
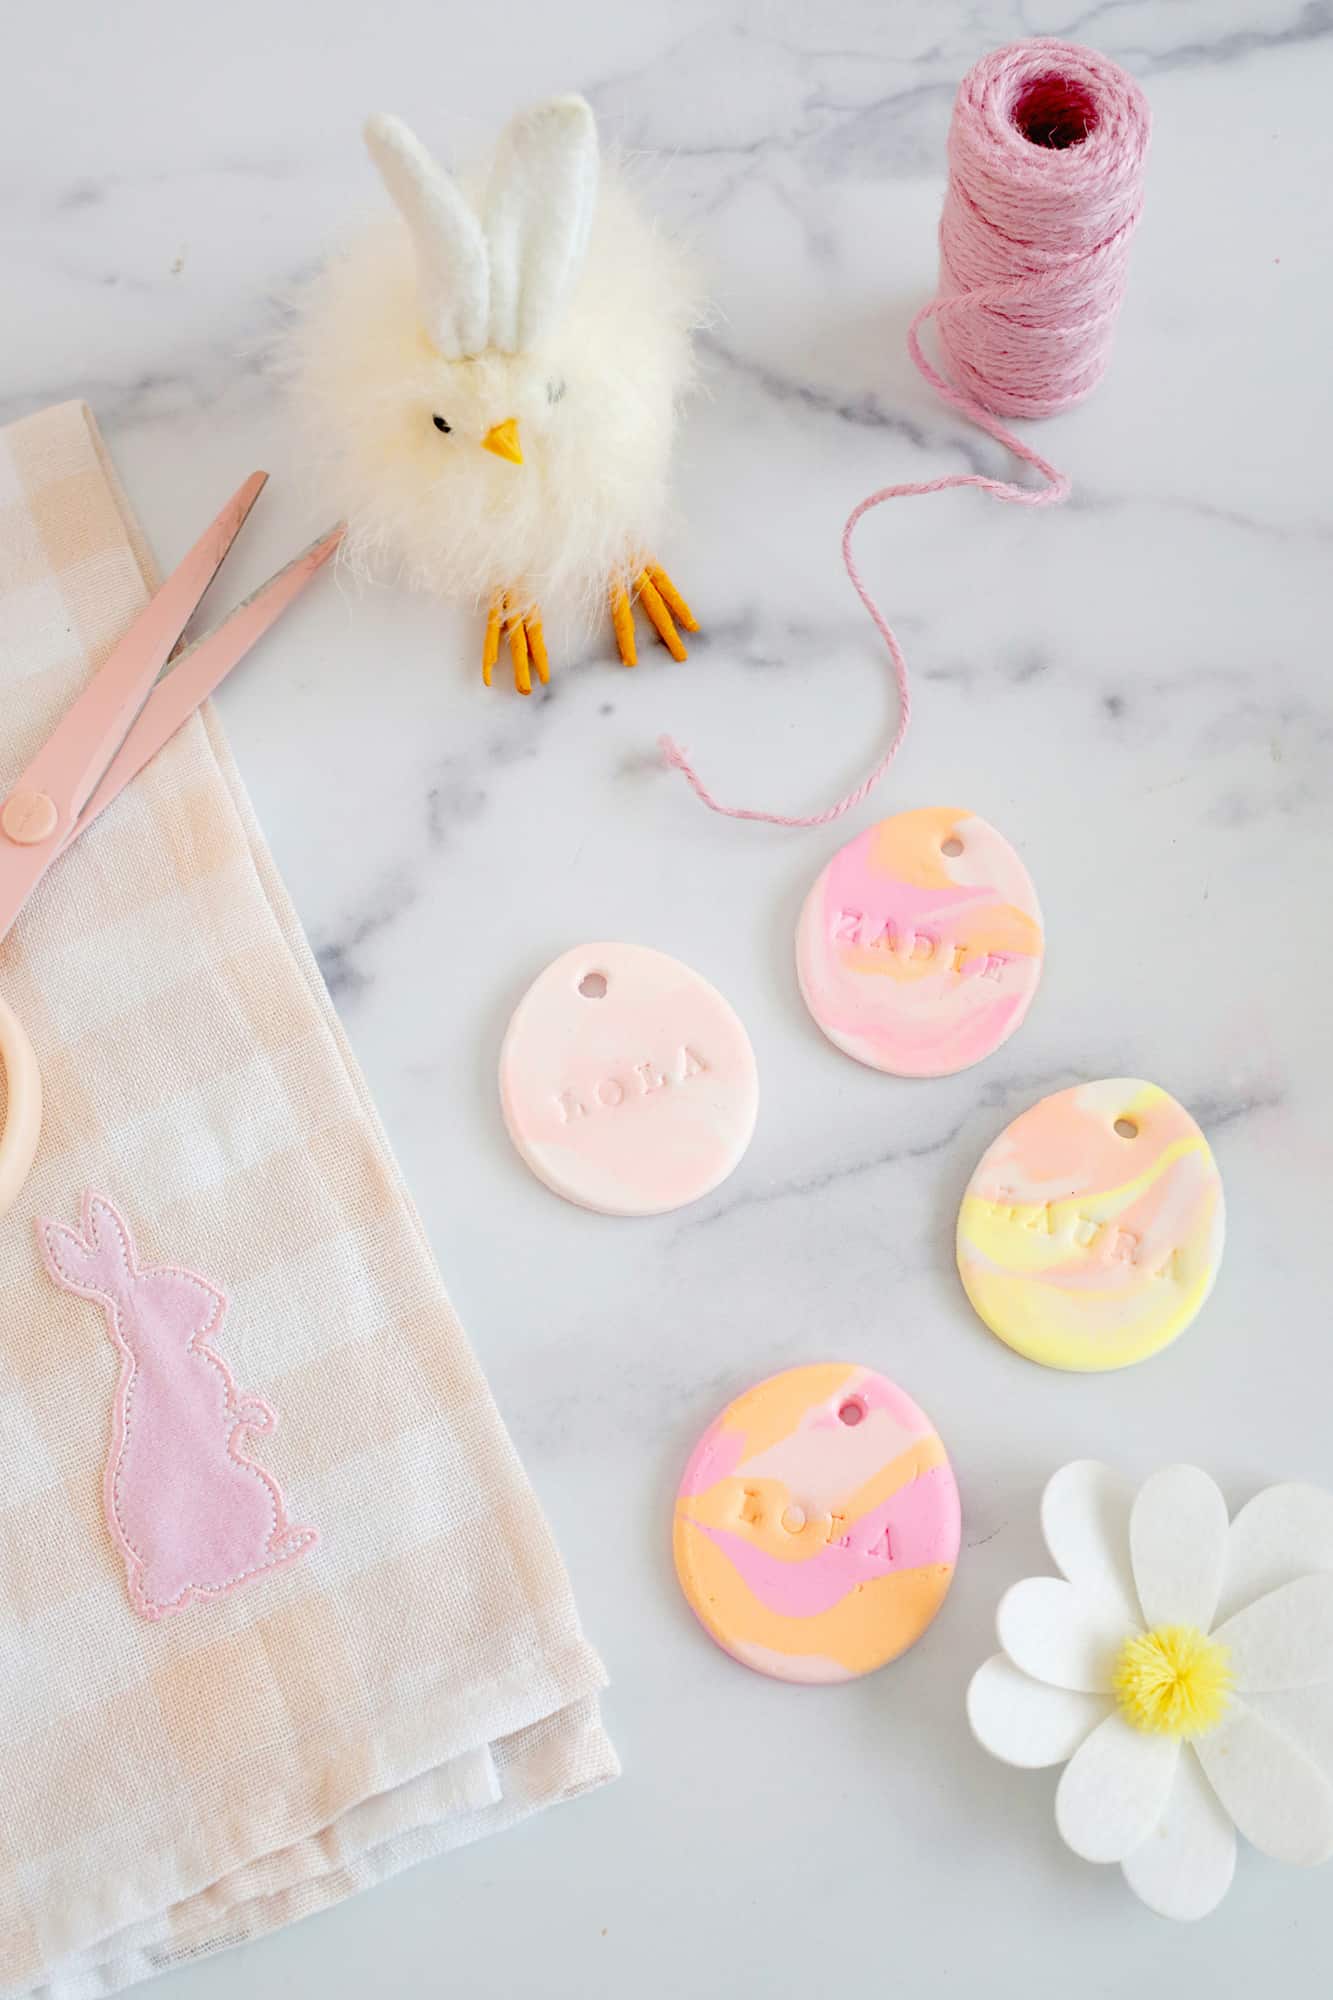
How cute are those?! They come together really quickly, and my 4-year-old had a lot of fun marbling her colors and using the egg cutter to cut them out (we are going to make a garland with hers).
Hope this name tag idea gives you a fun craft to do this Easter season! xo. Laura
Looking for more Easter crafts? Check out …
–Bunny Pom Pom Wreath DIY
–Easter Bunny Brunch + Pink Pancakes!
–Spring Wreath DIY

Marbled Easter Basket Name Tag (with Air-Dry Clay!)
Make Easy Easter Basket Name Tags with Air-Dry Clay
-
air dry clay
in various colors -
1
straw - twine or ribbon
-
fine sandpaper
optional
-
First, set up your stamp set with the name you want to stamp so it’s ready to go.
-
Then, grab two or three pieces of the colors of air-dry clay that you want to marble. You can either cut out one at a time or roll a larger slab and then cut several from the bigger piece. Roll out short clay “snakes” with each color and then twist them together in one strand.
Lay the strand down on your rolling surface and use the rolling pin to flatten out the clay. If you like that pattern of marbling, go ahead and cut out your shape with your cookie cutter, or you can roll it into a few snakes again, re-twist it and see if you like that marbling better before cutting.
-
Once your shape is cut, pull away the excess and use your straw to poke a hole in the top to tie the string or ribbon onto.
-
Press your name stamp into the clay (I love those clear sets because you can see exactly where you are placing it) and allow the clay to fully dry.
-
If you have a few rough edges, you can use a fine sandpaper when it’s dry to smooth them out. Otherwise your tag is ready to use!
Other ideas for decorating the tags:
-Make solid color tags and then decorate them further with paint or puff paint
-Leave them unstamped until they dry and then stamp the name on with ink
-Use straws or other stamps/objects to create dots or markings while the clay is still soft
[ad_2]
Source link


